Windows 7 Client - Configure ssh server
On each client running Windows 7, we login as a local user with administrative rights.
We do the following:
- Windows 7 - Create a root account
- Windows 7 - Install ssh server - copssh
- Windows 7 - Setup Firewall
Windows 7 - Create a root account
We create a local user account with administrative priviledges and username : root [c7]
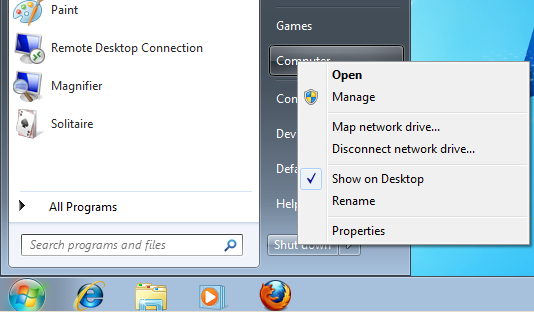
- We right click on Computer icon and select Manage. (image 1a)
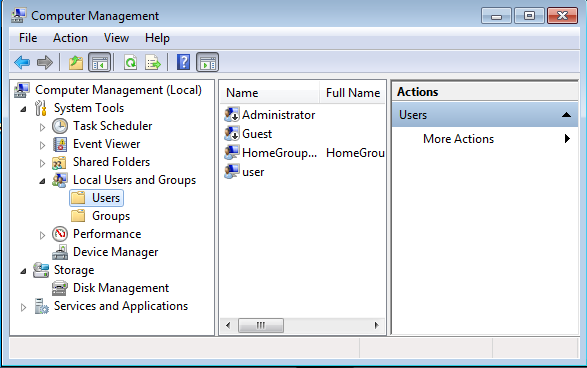
- On the left frame we go to Computer Management (Local) / Local Users and Groups and we click on Users folder. (image 1b)
- From menus we select Action / New User
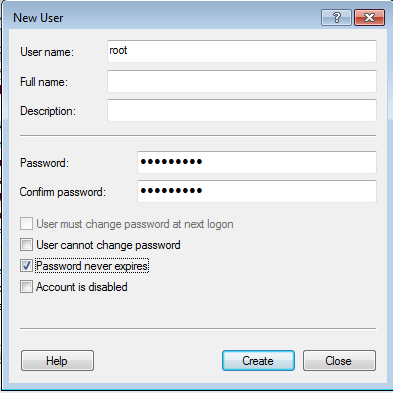
- We type root as Username, and the Password we want. (image 1c)
Note
Password for the root user must be rather difficult for security reasons. If we have dual-boot clients with Windows and Linux OS, we select the same password for the root user to both Linux and Windows OS. We use the same root password on all client PCs.
- We unselect option User must change password in next logon and we select option Password never expires. (image 1c) We press Create button and then Close.
- We right click on user root and we select Properties
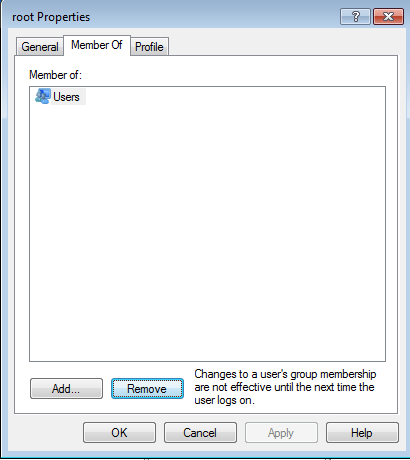
- In tab Member Of, we remove Users group. (image 1d)
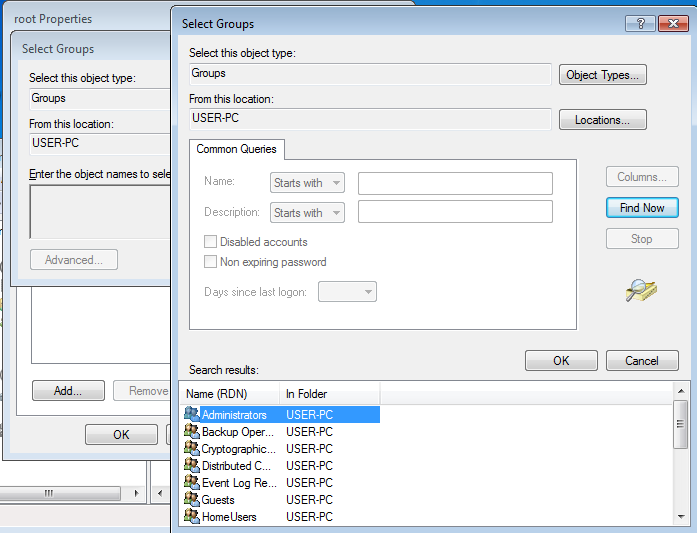
- We add Administrators group as following: In root user Properties window, in Member Of tab, we press Add button, next Advanced button and finally Find now. We select Administrators group and press OK consecutively in the following dialogs. (image 1e)
|
|
|
| image 1a | image 1b | image 1c |
|
|
| image 1d | image 1e |
Windows 7 - Install ssh server - copssh
Copssh is an ssh server, based on cygwin, that can be setup very easily.
To install Copssh we do the following:
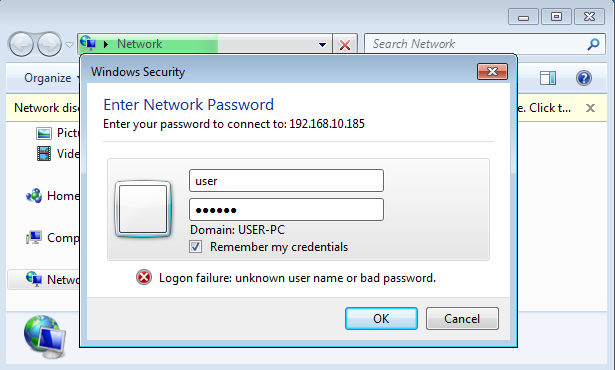
- We click on Computer or Network icon. In Address field, we fill the hostname or ip address of the server followed by the public network folder - e.g. \\lserver\public or \\192.168.10.200\public. (We have already setup a hostname and a local network ip for the server in LServerAdmin Network Configuration menu). We login with username user [BE] [c8] or teacher [SE] [c9] selecting Remember my credentials box. (image 2a)
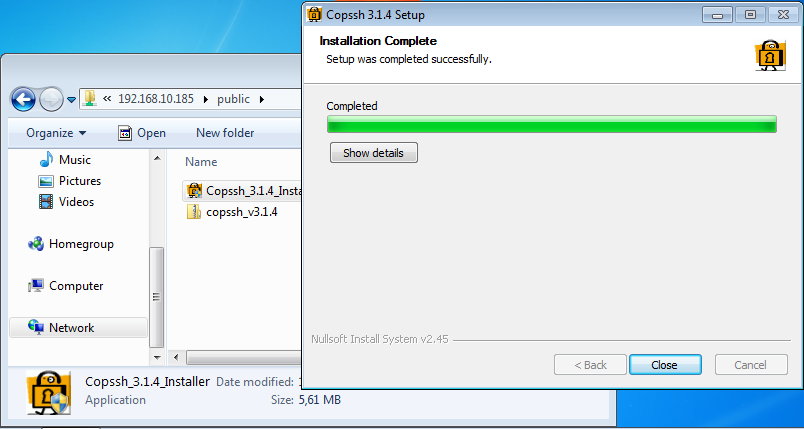
- From public network folder, we right click on Copssh_3.1.4_Installer and select Run As Administrator (we maybe asked again for our password in public folder). We proceed with installation until it finishes. [c10] (image 2b)
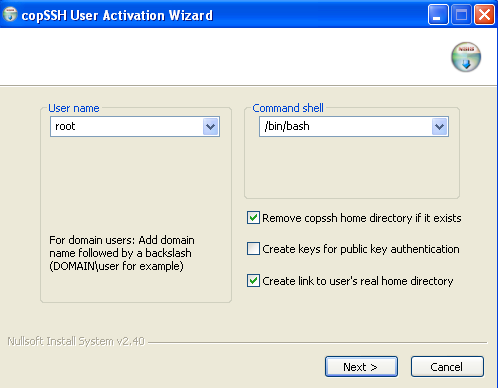
- From Startup / All Programs / copssh, we right click Activate a User and select Run As Administrator. In User field we select user : root. We unselect Create Keys for public key authentication and press next to activate user root for remote ssh access. (image 2c)
|
|
|
| image 2a | image 2b | image 2c |
Windows 7 - Setup Firewall
To setup firewall to allow remote ssh connections we do the following :
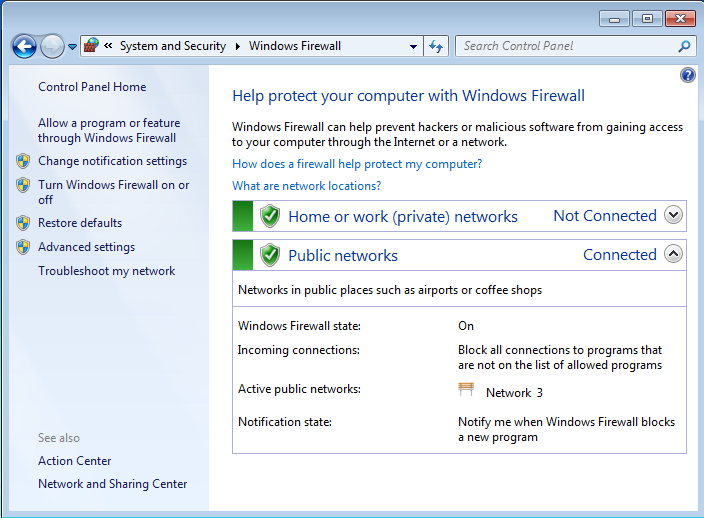
- We go Startup / Control Panel / System and Security / Windows Firewall.(image 3a)
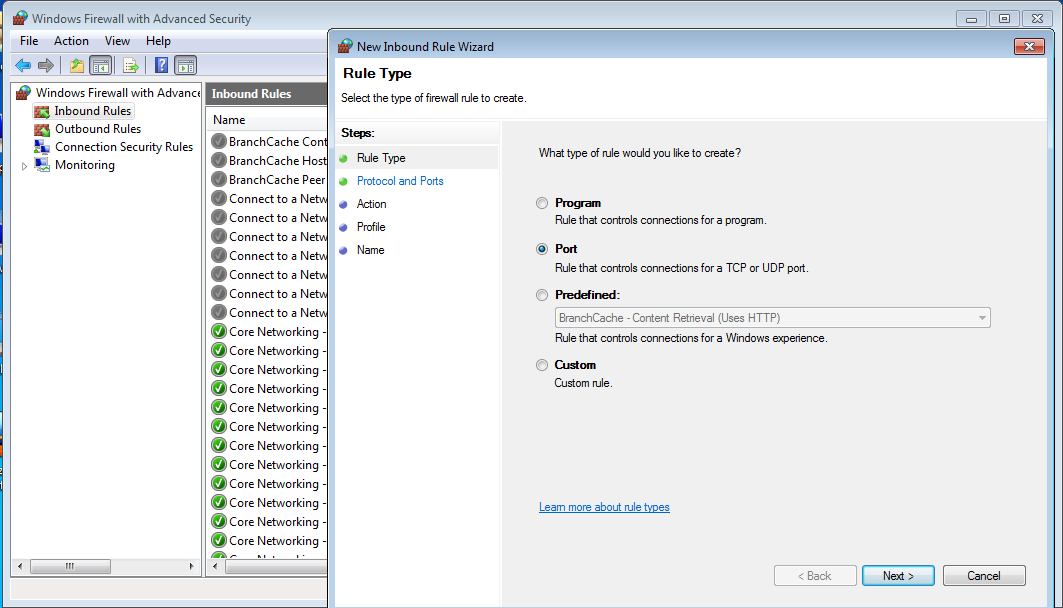
- From left pane, we select Advanced settings. In Windows Firewall with Advanced Security window, we select Inbound Rules, from the left frame. From the menus we click on Action / New Rule.
- This starts New Inbound Rule Wizard. We select Port as Rule Type. (image 3b)
- We select Specific local Ports : 22 and Protocol : TCP. (image 3c)
- On Action, we select Allow the connection. On Profile, we select Domain, Private, to allow local network ssh connections. We can unselect Public, for security, but we need to remember our choice [c14]. Finally for Rule Name we select ssh and press Finish.
We have opened ssh port from Windows Firewall. One last step is to enable File and Printer Sharing. [c11]
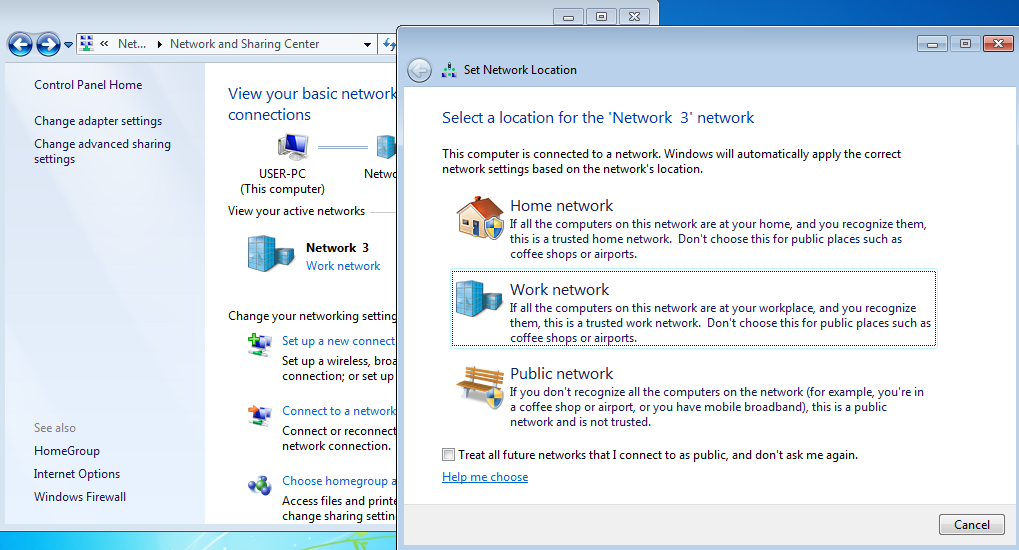
- We go Startup / Control Panel / Network and Internet / Network and Sharing Center. We ensure Work or Home Network Profile is active. [c14] (image 3d)
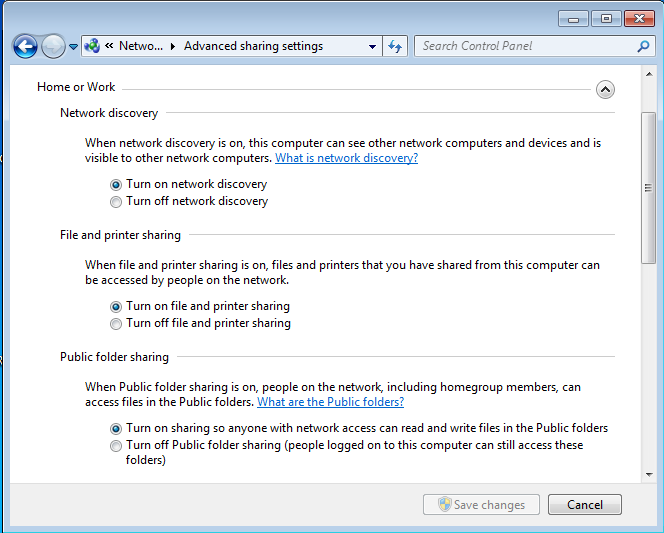
- From left pane we select, change advanced sharing settings. We select Home or Work Profile. We check Turn on network discovery, Turn on file and printer sharing, and leave other options as they are. (image 3e). If we want to enable file and printer sharing in Public Profile also, we unhide it, and check the same options as in Home or Work Profile. [c14]
To finish configuring ssh access, we must restart the client PC.
|
|

|
| image 3a | image 3b | image 3c |
|
|
| image 3d | image 3e |